Wednesday, December 11, 2013

Easy Colorful Paper Straw Garland


Once upon a time I was a white light person for Christmas.  However, when we moved into our new house a couple bins of white Christmas lights and silver ornaments mysteriously went missing.  I think they may have gotten tossed in our quick move with a new baby and curious toddler and some PODS moving units.

Last Christmas was the first in our new house and we discovered the missing bins when we went to deck the halls.  But, I took it as an excuse to go shopping for some new decorations!  I decided it was time for a change and picked out colorful lights and ornaments with as much color as possible.  My tree looks so happy and festive now.

My mom came across the idea for these garlands in Better Homes and Gardens.  We decided to make them even more colorful with bright wooden beads and several colors of paper straws.

The following items are needed:

  • Paper straws cut into thirds
  • Beads (I used varying sizes of wooden beads)
  • Yarn, Twine or String
  • Plastic needle


Once all your items are gathered together its as simple as tying a knot in the yarn around the first wooden bead stringing alternating straws and beads until you reach the length you would like.  


When you are happy with the length tie a knot around the final bead and you are ready to hang them.  They can be used on the tree, along the mantle on your fireplace, across a doorway or anywhere you need a pop of color.

If your decorations aren't quite as colorful there are TONS of paper straw colors available and TONS of beads.  I've seen gray and white straws with red beads or black and white straws with turquoise blue that was really beautiful.  Its a great craft for little kids too ... even my daughter enjoyed helping!


Here is the final product ... this particular garland is actually hanging on my parents tree.


Only 2 weeks left until Christmas!  We are getting really excited here on Fourth Street, I hope your family is enjoying the days leading up to the holidays, they are so magical for little ones!!!

Thursday, December 5, 2013

Fabulous Finds on Etsy: Week 2 (Baby Edition)

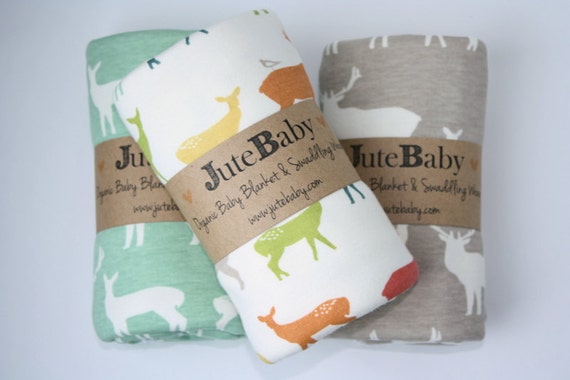
This weeks edition of Fabulous Finds on Etsy includes items for new babies and moms to be.  Etsy is a great place to find original, organic and (I think I should put another O word in here .... hmmm can't think of anything) totally adorable baby items.  Each of the pictures is linked to the shop's listing in case anything catches your eye!

Organic Baby Blanket:


Newborn Baby Hat:
Newborn Hat, Baby Boy Hats, Knit Newborn Hat, Knit Baby Hat, Pom Pom Hat, Newborn Photo Props, Newborn Girl Hats

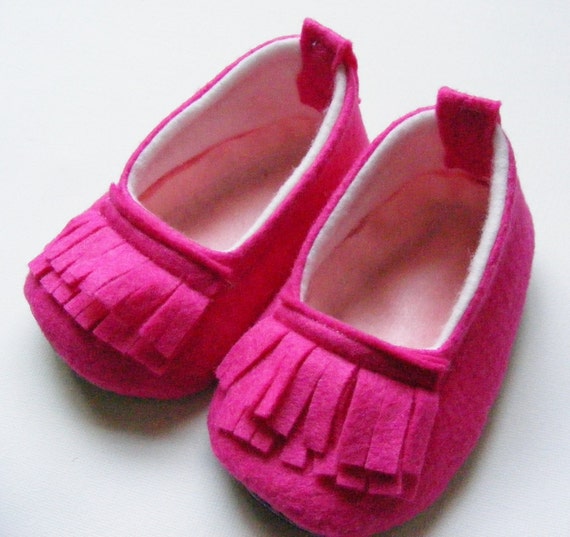
The Piper Color Pop Loafer:
The Piper - Color Pop Loafer Neon Hot Pink Felt Baby Shoes - Designer Baby Shoes

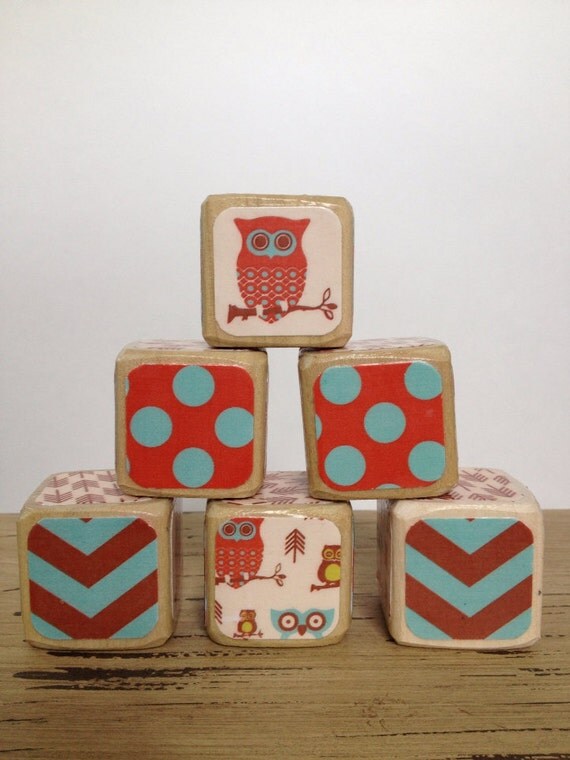
Wooden Owl Children's Blocks:
Woodsy Owl // Childrens Blocks // Natural Wood Toy

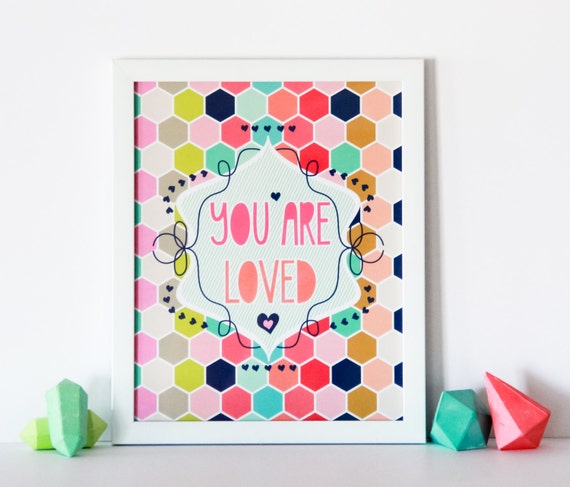
Nursery Print:


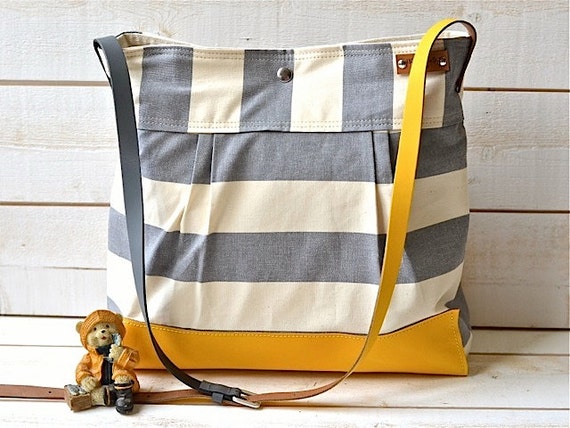
Stylish Diaper Bag:
BEST SELLER Diaper bag / Messenger bag STOCKHOLM Gray geometric nautical striped Leather / 10 pockets Featured on The Martha Stewart

I hope everyone is enjoying getting ready for Christmas!  Only 20 days until Santa makes his appearance!  I am super behind on my to-do list.  By super behind I mean I haven't done anything yet ... DOH!  I'm hoping to try and play a little catch up this weekend.  Happy shopping!

Wednesday, November 27, 2013

Fabulous Finds on Etsy: Week 1

If you are not familiar with Etsy I highly recommend taking a look!  I not only run my shop on Etsy, I also shop on Etsy.  I have found some amazing, original items and they are all made by hand by someone like me :-).  I am happy to support small businesses and I can not say enough about the supportive community of sellers.

That being said, here are some really cool things I have found for some ideas for holiday shopping.  I am going to start a weekly post ... Fabulous Finds on Etsy, so please take a look!!!  These are simply items I have recently come across while clicking around that caught my eye.

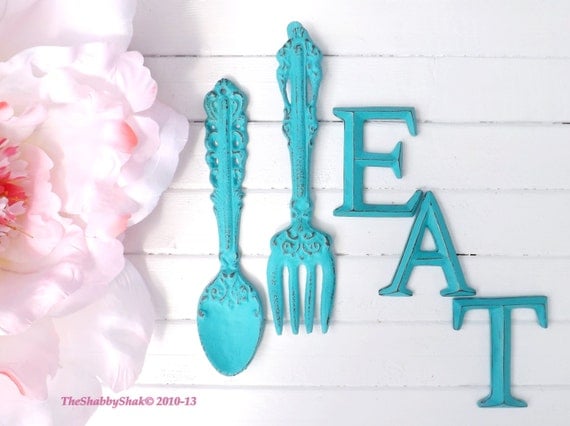
Kitchen Wall Decor:
Kitchen Wall Decor / Aqua / Fork and Spoon Decor / EAT Sign/ Wall Word / Shabby Chic / Shabby Chic Decor / Kitchen Wall Art / Kitchen Decor

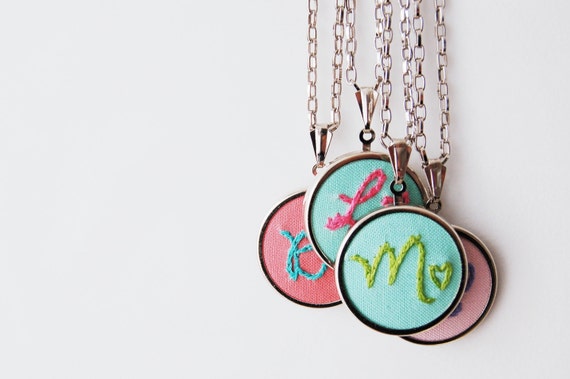
Personalized Fabric Initial Necklace:
Personalized Fabric Initial Necklace. Stitched Initial and Heart Pendant. Embroidered by Merriweather Council on etsy

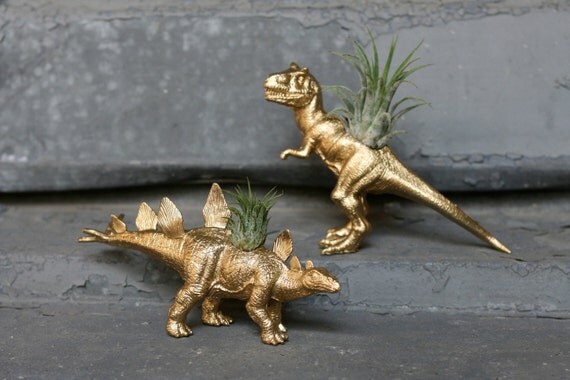
Dinosaur Planter:
Dinosaur Planter 2x TILLANDSIA-SAURUS T-Rex + Stegosaurus GOLD

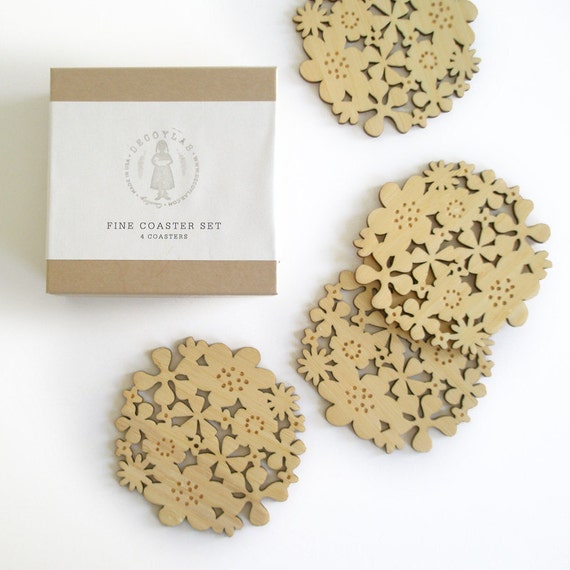
Bamboo Flower Coasters:
Flower Coasters Set of 4 - Bamboo

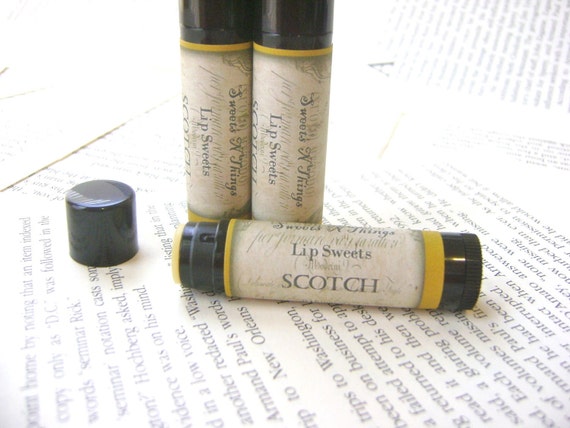
Scotch Whiskey Lip Balm:
Scotch Lip Balm, Scotch Whiskey Lip Balm with Shea and Cocoa Butter

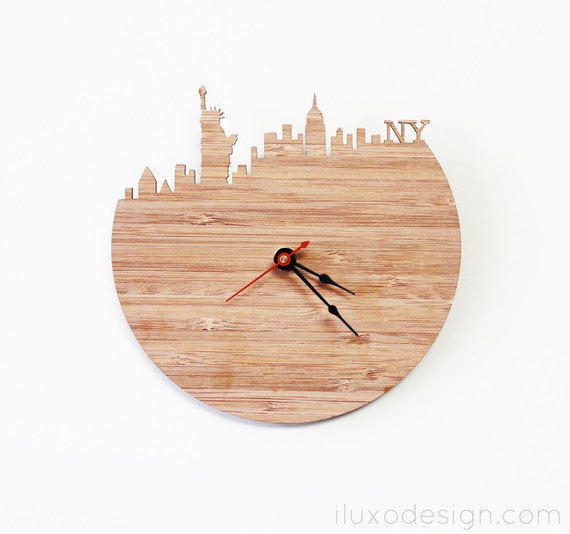
New York Skyline Wall Clock:
New York Modern Wall Clock - Statue of Liberty, Empire State Building Clock

I hope everyone has a wonderful Thanksgiving and successful shopping on Black Friday.  I'm looking forward to seeing my family and friends and I would like to send wishes for happiness and health to everyone!

Saturday, November 23, 2013

House Tour Part 1: Kitchen

Welcome to Part 1 of my house tour.  I figured I would start in the kitchen which is the most "finished" room to date and my favorite room in the house.  (Is any space ever really finished???)  It is sunny and spacious and the the deciding factor for choosing our floorplan from the builder.


Since we moved in a little over a year ago the kitchen has had three paint colors.  Its good thing I actually like painting.  What can I say, I have a little bit of indecisiveness ... its allowed as a woman ;-).  My husband and I make a good team ... I like to cut in and he likes to roll.

The first color was primer white from the builder which showed EVERY SINGLE FINGERPRINT.  With two little kids who love spaghetti and other messy foods this was not a good thing.  Primer white was quickly followed by a celery green.  The color looked perfect on the swatch, but I HATED it as soon as it went up.  I wanted to repaint immediately, but I talked myself into living with it for a bit.  Lesson learned ... buy a little test pot and try it on the wall BEFORE painting an entire room :-).

Here is one of the few pictures I have of the UGLY celery green walls.  Don't mind all the mess!  The color isn't horrible, it just didn't look right.
I tried really hard to like the celery green, but after about 6 months I had enough.  I finally decided to go with Rainwashed by Sherwin Williams. The color is a gorgeous aqua blue.  Once again I spent a couple evenings repainting (which I really don't mind, its actually relaxing!).  It was totally worth it and I LOVE the color.


In addition to painting and painting again we changed out the ugly builder brass light fixture over the kitchen table to match the pendant lights, added a "command center" with a desk and shelf , added some decorations, and put up some faux wood blinds on the windows.


My favorite project with the biggest impact is the giant chalkboard.  It was built with a giant sheet of hardboard, magnetic paint, chalkboard paint and some trim cut into a frame.  The kids can doodle and I can keep track of groceries and meal plans and general day to day things.


My to-do list includes:

  • Add backsplash ... I'm thinking something like this.  I love the herringbone pattern and the gray stone.
  • Make curtains for the windows.  They need a pop of color.
  • Paint chalkboard frame yellow.
  • Add some art to those plain walls!
  • Find a rug for under the kitchen table.
  • Make slipcovers for chairs/barstools.
  • Figure out what to do with the enormous island.  Its huge and likes to collect clutter.
There will probably definitely be lots more added to the to-do list over time ... but there are many many other projects to keep me busy in the meantime.  The space is great for entertaining and baking and playing play dough, crafting and hanging out with my family.  Thanks for visiting!

Holiday 2013 Collection Goes Live!

The Holiday 2013 Collection has FINALLY been added to Four on Fourth.


The bow ties are available as either a clip-on for any button down collared shirt or as a bow tie bodysuit for the little guys.  New items will be added over the coming weeks so if you haven't taken a look lately come visit my shop!

Monday, November 18, 2013

Delicious Semi-Homemade Chicken Pot Pie

One of my favorite things in the world is pie ... apple pie, cherry pie, pumpkin pie, chocolate pudding pie.  YUM.   But the top dog, in my opinion, is the chicken pot pie.

I have a recipe which is easy, quick and delicious to share today.  Any time I'm working on a new recipe we call it an "experimental dinner".  Sometimes they are fabulous and sometimes they are major flops.  However, I did not give up, and after several "experimental dinners" I think I finally nailed my pot pie recipe. 


Semi-Homemade Chicken Pot Pie
Adapted from The Pioneer Woman
Prep Time: 15 mins
Cook Time: 25-30 mins

2-3 cups diced or shredded pre-cooked chicken (I used a rotisserie chicken)
1/2 cup onion, diced
1/2 cup celery, diced
1/2 cup carrot, diced
4 tablespoons butter
1/2 cup flour
2-3 cups chicken broth
1/4 teaspoon turmeric
1 chicken bouillon cube
1/2 teaspoon Italian seasoning
1 cup frozen peas
salt and pepper to taste
1 unbaked pie crust (usually found near the biscuits and pizza dough in the refrigerated section)

Preheat the oven to 375 degrees.

Melt the butter in a large pot over medium-high heat, then add the onion, carrots, and celery. Stir them around until the onions start to turn translucent, about 3 minutes.


Stir in the chicken and then sprinkle the flour over the top and stir it until it’s all combined with the chicken and vegetables. Cook for 1 minute, then pour in the chicken broth and stir it around and let it cook and thicken.


Once it starts to thicken add the turmeric, bouillon cube, Italian seasoning, salt, pepper.  Finally, add your frozen peas and stir them into the mixture.


Pour the filling into a 2-quart baking dish. Unroll the pie crust and lay it over the top of the dish.

Press the dough so that the edges stick to the outside of the dish. Use a knife to cut little vents here and there in the surface of the dough.

Mix together the egg with 2 tablespoons water and brush it all over the surface of the crust. (You will have some egg wash left over.)


Place the pie on a rimmed baking sheet and bake for 25 to 30 minutes, until the crust is deep golden brown and the filling is bubbly. To prevent the crust from getting too brown, you might want to cover it lightly with foil for the first 15 minutes of baking time.


Share with your family and friends and enjoy! 

PS ... She may not look like something you see in a magazine, but she sure is tasty!

Sunday, November 17, 2013

We're live on Bloglovin'

You will never miss a post if you add me to your list of followed blogs on bloglovin.

Follow my blog with Bloglovin